


Before you begin, it helps to choose a kit that matches your patience level, tool setup, and display style. Our guide to choosing the right Soothee kit before you start building walks through book nook kits, miniature house kits, skill levels, and LED display value.
Selecting the Perfect Miniature Building Kit
The foundation of any exceptional miniature creation begins with choosing the right kit. Quality matters immensely when embarking on your lilliputian construction journey. Look for kits that offer precision-cut components, comprehensive instruction manuals, and authentic materials that mirror real-world textures.
Consider your skill level honestly. Novice crafters should gravitate toward kits with larger pieces and straightforward assembly processes, while seasoned builders can tackle intricate architectural marvels with hundreds of minuscule components. The complexity should challenge without overwhelming your creative spirit.
Evaluating Kit Components and Materials
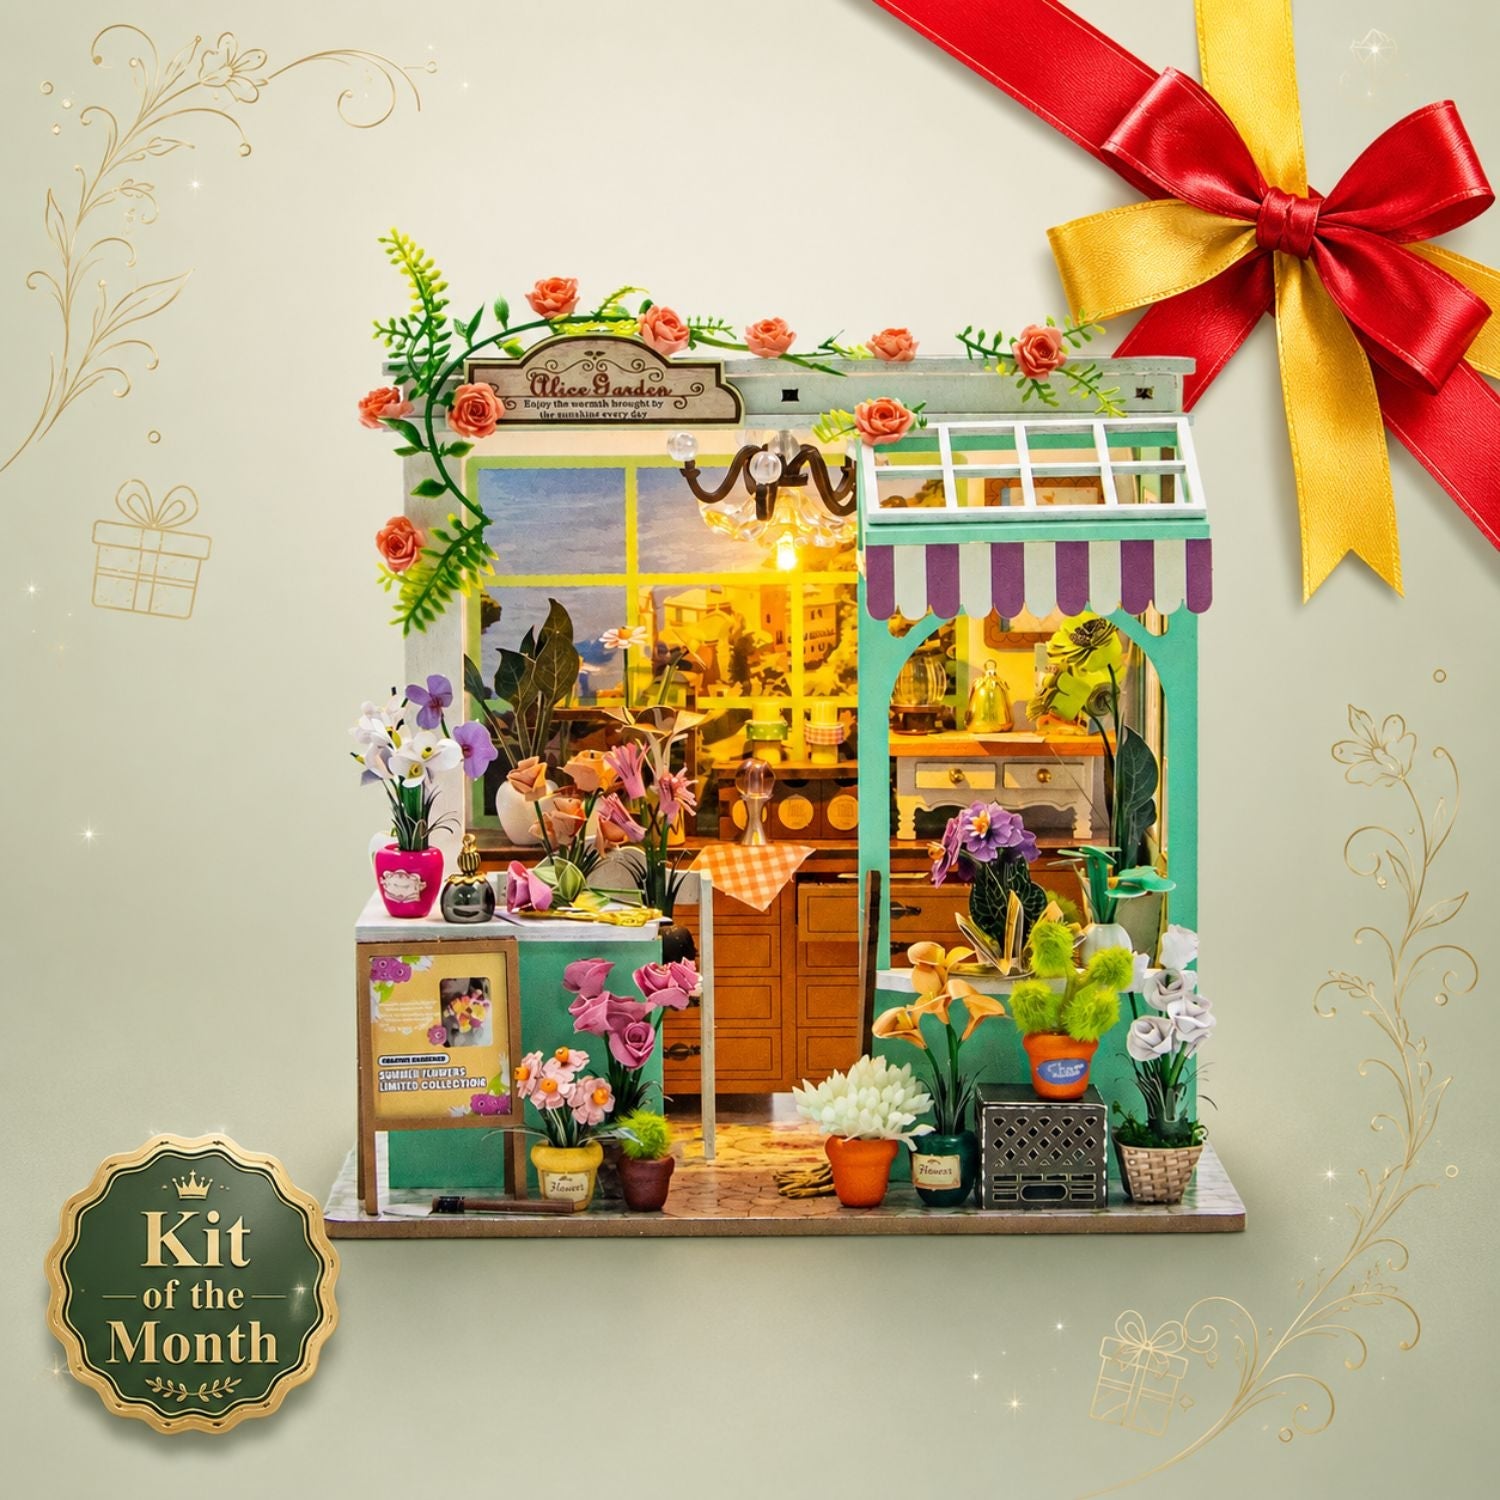
Premium miniature kits feature laser-cut wooden pieces with smooth edges and precise tolerances. Examine the packaging for quality indicators like pre-painted details, realistic miniature furniture, and inclusion of specialized tools. Authentic materials such as genuine fabric, metal fixtures, and translucent acrylic create stunning visual fidelity in your finished masterpiece.
For those seeking exceptional quality and curated selections, exploring professionally designed miniature collections can elevate your crafting experience significantly. These thoughtfully assembled kits eliminate the guesswork of component compatibility while ensuring every element harmonizes perfectly for stunning results.
Essential Tools and Workspace Preparation
Transform your crafting area into a miniaturist's sanctuary with proper organization and lighting. Adequate illumination prevents eye strain during delicate assembly work. Position your workspace near a window for natural light, supplemented by adjustable LED desk lamps for evening sessions.
Invest in quality precision tools: fine-tipped tweezers, craft knives with replaceable blades, miniature scissors, and various adhesives. A cutting mat protects surfaces while providing measurement guides. Small containers organize tiny components, preventing the heartbreak of lost pieces.
Creating an Organized Assembly Station
Designate specific areas for different assembly phases. Sort components by type or assembly sequence using small bowls or compartmentalized trays. This methodical approach streamlines construction and reduces frustration when searching for specific pieces mid-project.
"Organization is the bridge between dreams and accomplishment in miniature crafting. Every minute spent organizing saves hours of searching later."
Mastering Precision Assembly Techniques
Delicate manipulation requires patience and finesse. Hold pieces lightly but securely, allowing your fingertips to guide rather than force connections. Practice the "dry fit" technique—testing component alignment before applying adhesive—to ensure perfect positioning.
Adhesive application demands restraint. Less is invariably more with miniatures. Apply tiny amounts using toothpicks or precision applicators, avoiding excess that could seep onto visible surfaces and mar the aesthetic appeal.
Working with Intricate Details
Miniature furniture and decorative elements require special attention. Install these components after major structural elements are secure but before adding roofing or upper floors that might obstruct access. Use magnifying glasses for extremely detailed work, particularly when positioning diminutive accessories.
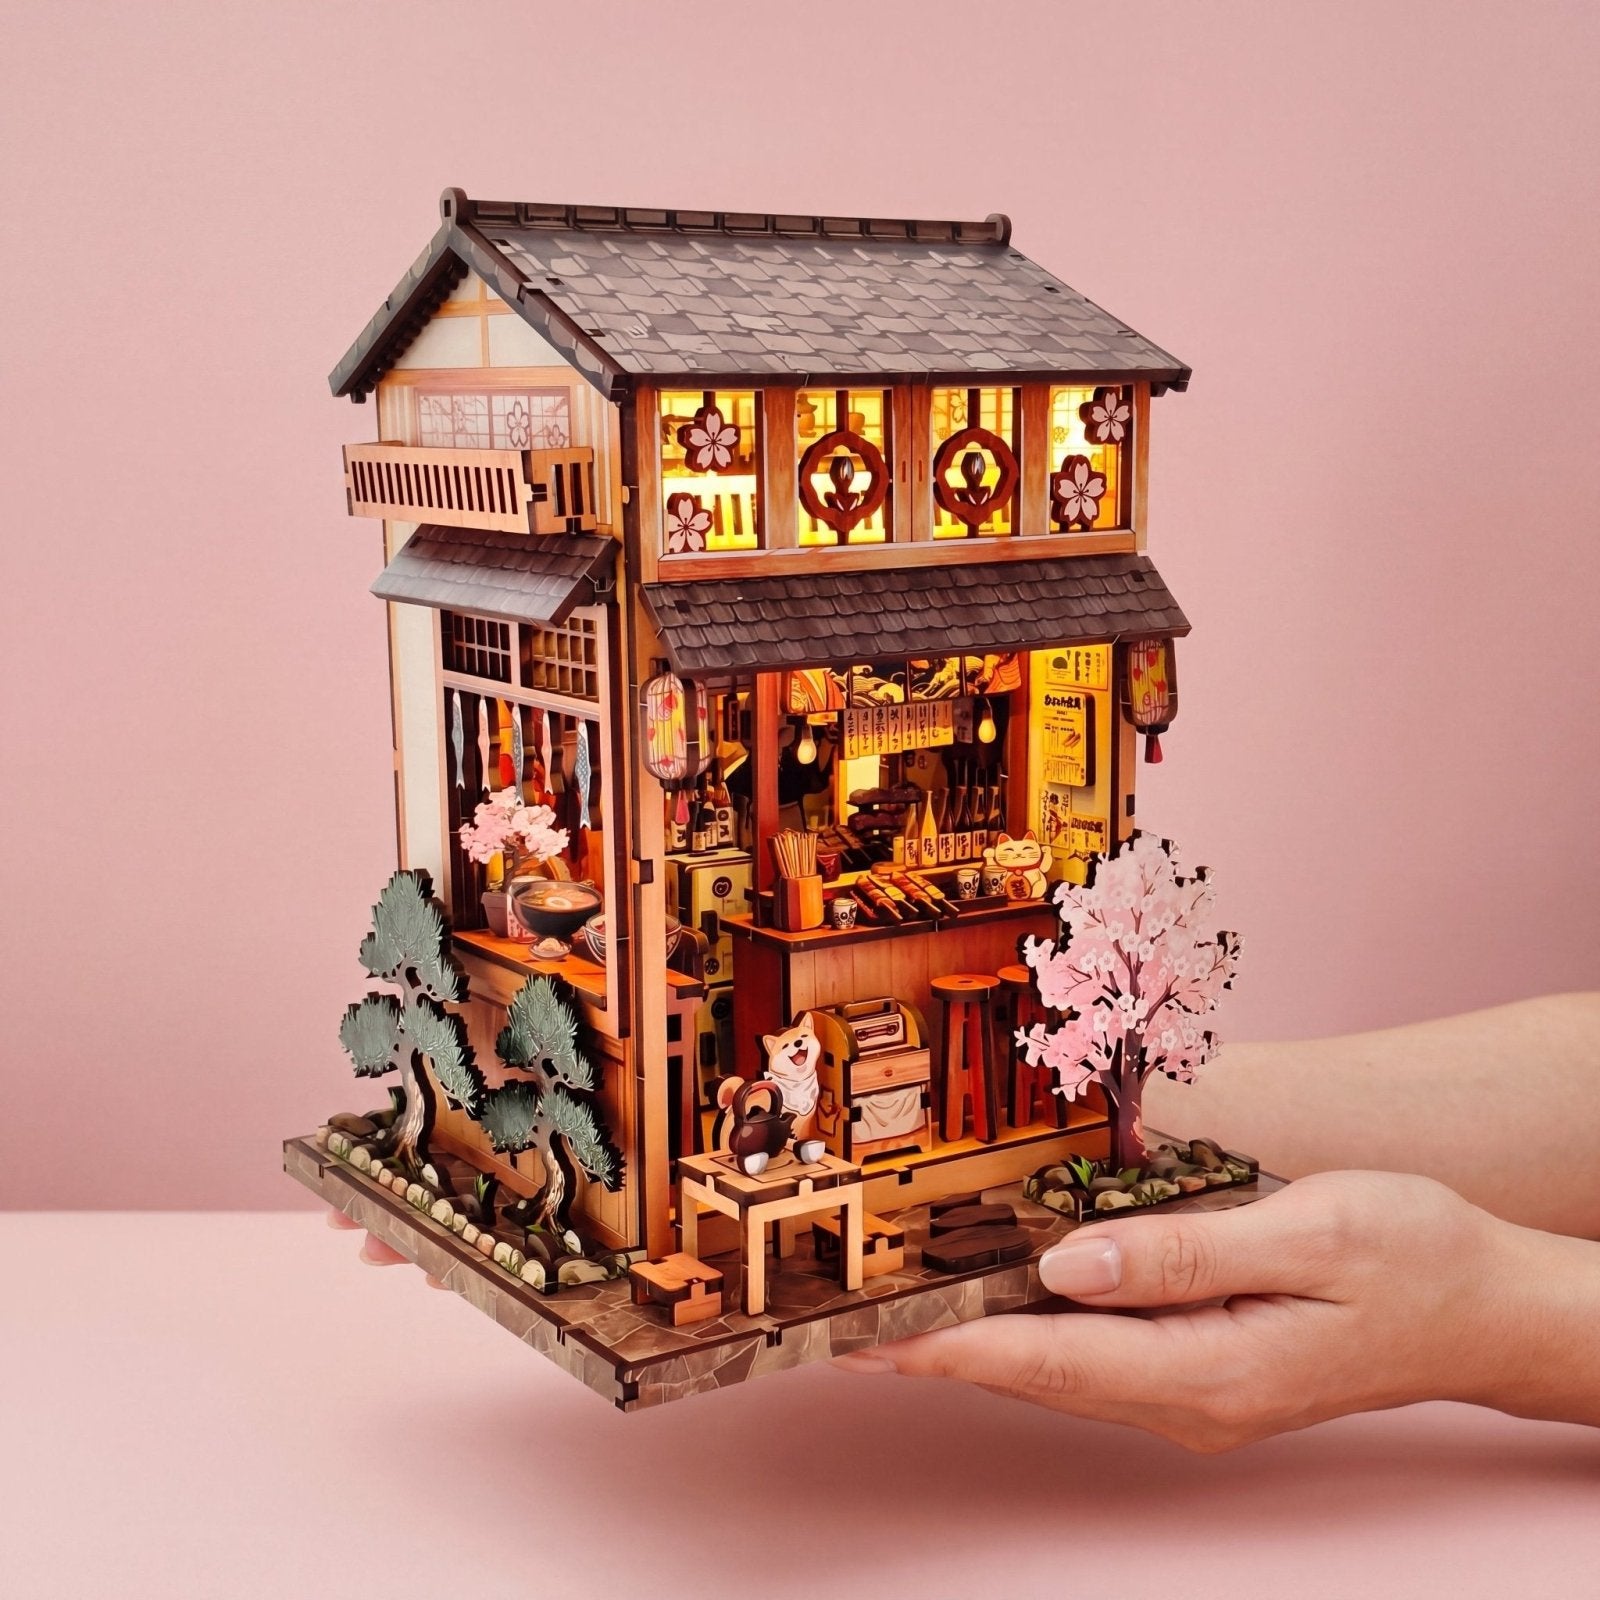
Illuminating Your Miniature World
LED lighting transforms static displays into enchanting, immersive environments. Plan your electrical layout before assembly begins, threading wires through designated channels or drilling discrete holes where necessary. Battery-powered LED strips offer flexibility without complex wiring schemes.
Consider multiple light sources for realistic ambiance. Warm white LEDs create cozy interior atmospheres, while cool white illumination suits modern architectural styles. Color-changing strips add dramatic effects for themed displays.
Troubleshooting Common Assembly Challenges
Even experienced crafters encounter obstacles. Misaligned joints often result from rushed assembly—take breaks to maintain focus and precision. If pieces don't fit properly, resist forcing connections; instead, examine instruction diagrams carefully and verify component orientation.
When mistakes occur, patience proves invaluable. Carefully disassemble problematic sections using appropriate tools, clean away old adhesive residue, and restart with fresh perspective.
Frequently Asked Questions
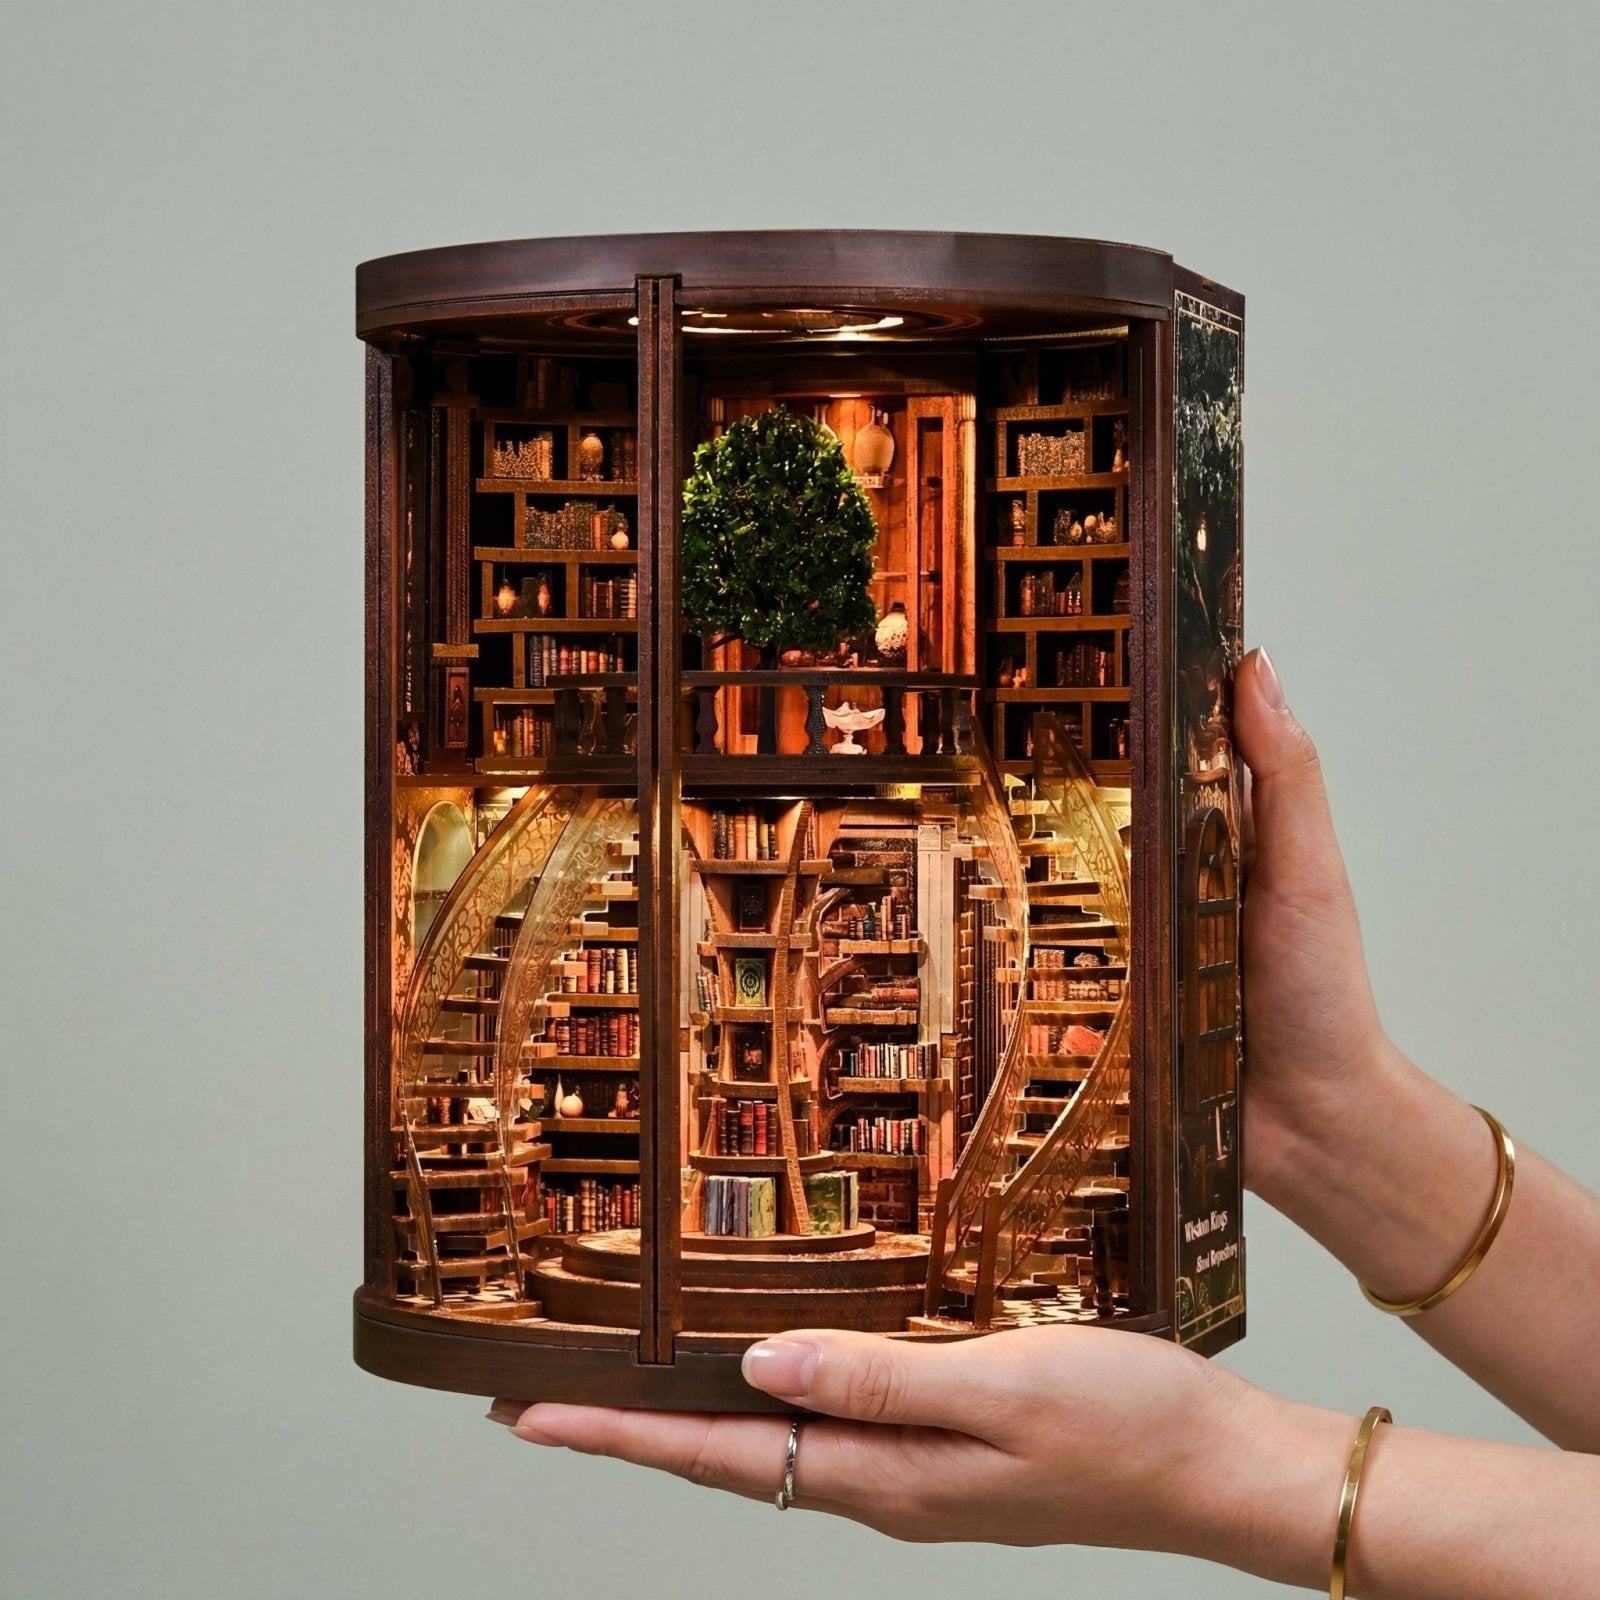
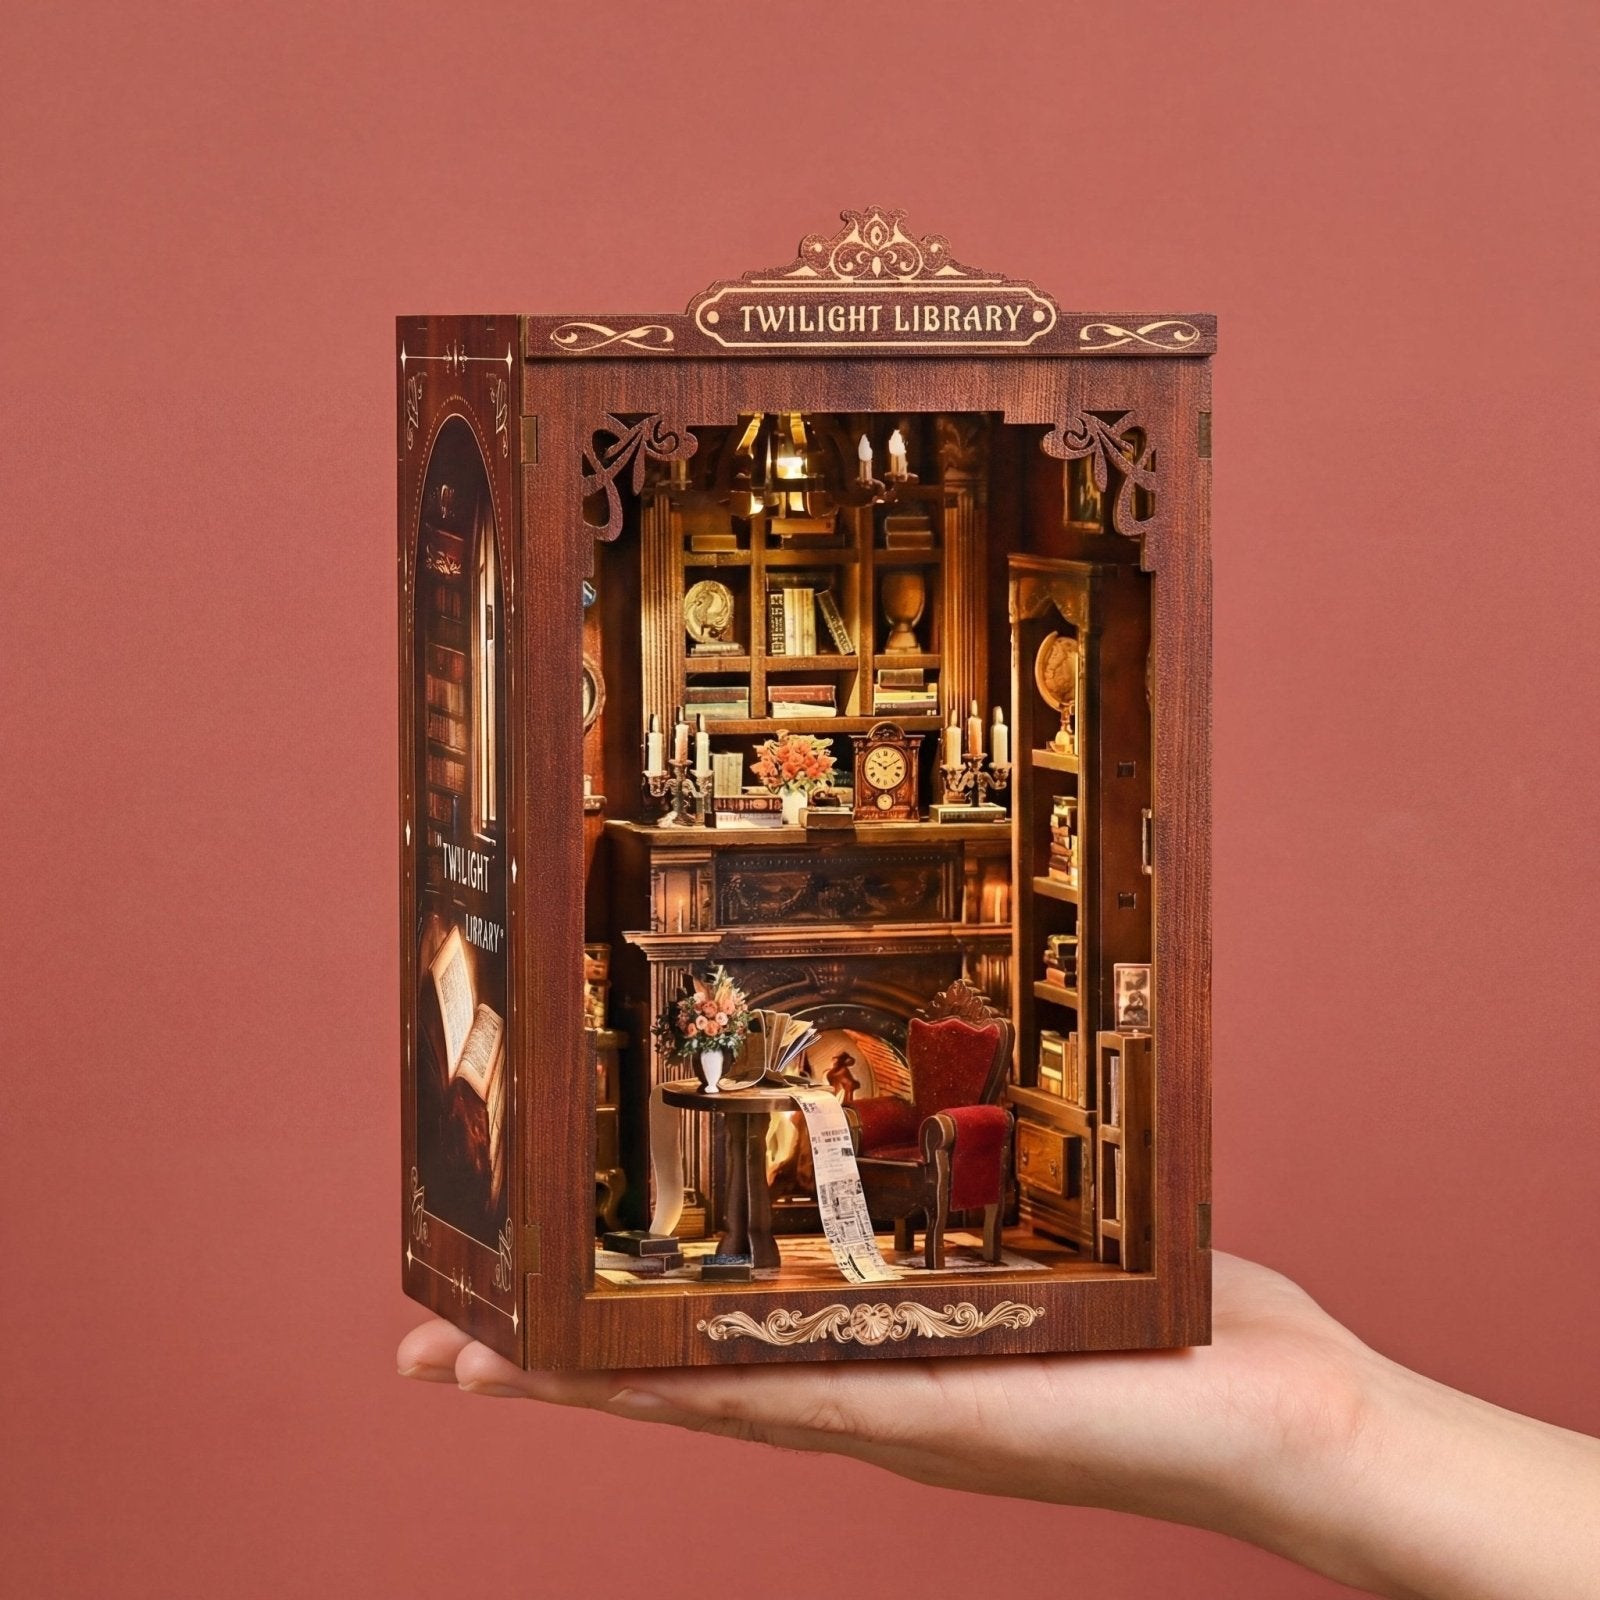
How long does a typical miniature building project take? Project duration varies significantly based on complexity and available crafting time. Simple book nooks require 4-8 hours, while elaborate dollhouses can span several weeks of enjoyable construction.
Can beginners successfully complete advanced kits? While challenging, determined beginners can tackle complex projects with patience and careful attention to instructions. Consider starting with intermediate kits to build confidence and technique.
What's the best way to display finished miniatures? Protect your creations with display cases or glass domes to prevent dust accumulation. Position them where lighting showcases intricate details while keeping them safe from accidental damage.

